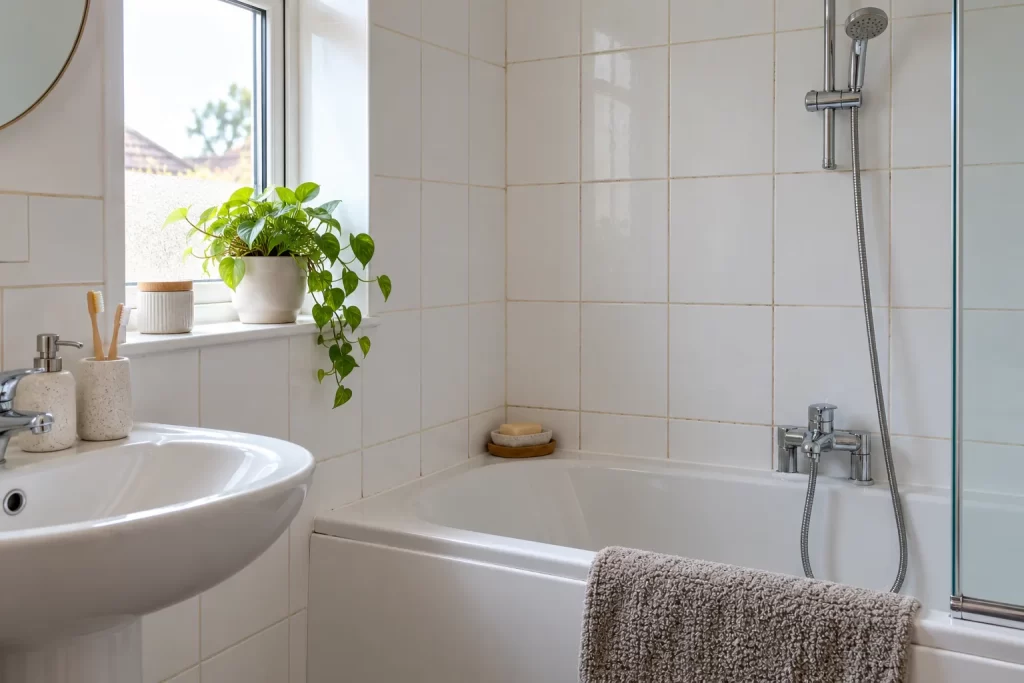
To clean bathroom grout, first check that the joint is sound and identify the tile and grout type. Remove loose dirt, test a tile-compatible mild cleaner on a discreet spot, then work a small section with a soft brush or cloth. Let the product act only for the time its label allows. Lift the dirty solution, rinse with a damp sponge and dry the area. If grout is cracking, crumbling or missing, stop treating that section as a stain: it needs assessment and possibly repair. More scrubbing cannot restore a failed joint.
Grey or patchy grout does not always have the same cause. Surface soil may lift with ordinary cleaning; mineral deposits need separate assessment, and a dark mark that keeps returning may indicate moisture or damage. Identify the problem before choosing a stronger product, while protecting the tile, sealant and nearby fittings.
Inspect the joint before choosing a cleaner
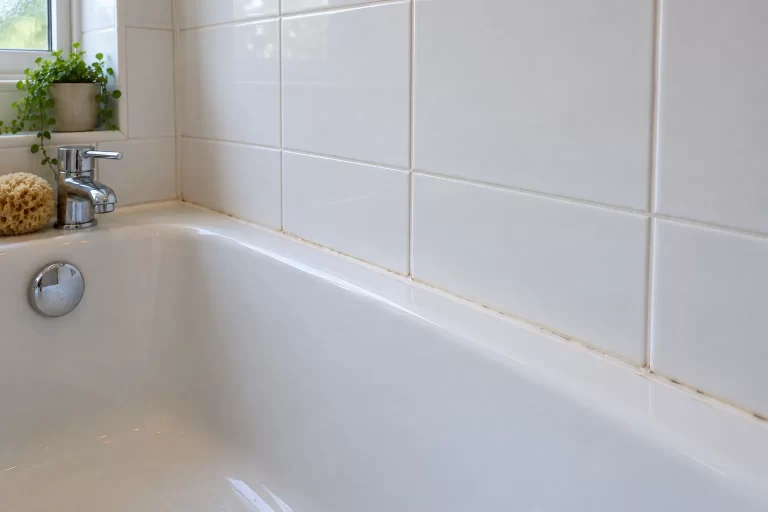
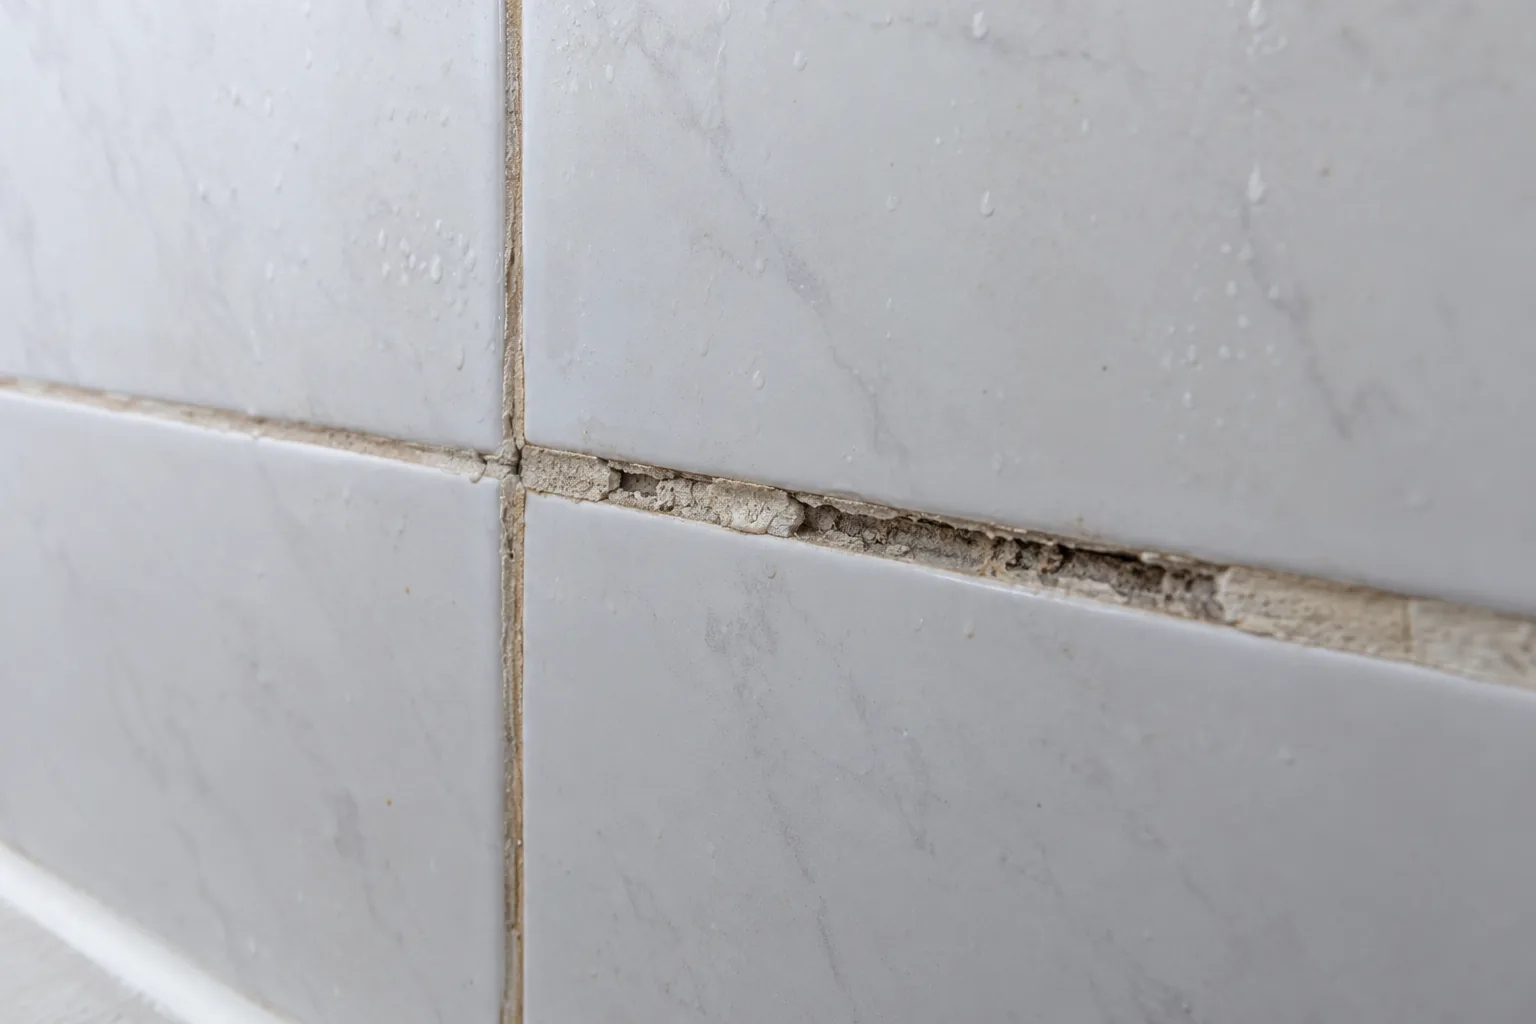
Work in good light while the tiles are dry. Look for a continuous, filled grout line. A little colour variation is common, but obvious gaps, loose grains, cracks crossing the joint, hollow-looking edges or a tile that moves deserve attention before cleaning. Note whether the mark is on top of an intact joint or seems to extend into a crack. Check the corners and the junction between bath or shower tray and wall separately: those areas may use a flexible sealant rather than cement grout, and the maintenance method is different.
If a tile is loose, water appears behind or below it, or a patch stays wet long after the room dries, do not soak it with cleaner. Ask a tiler or appropriate specialist to examine it. BAL’s account of grout cracking identifies movement and installation factors among possible causes. Cleaning cannot solve those causes. Photograph the area before cleaning if you need to show a tradesperson.
Check the tile and grout makers’ care instructions, especially for stone, polished finishes or sealed joints. Cementitious and epoxy grouts differ. A product marketed for “tile and grout” must still suit both materials. If you cannot identify a delicate surface, start with water and a soft cloth and ask its maker before using a stronger product.
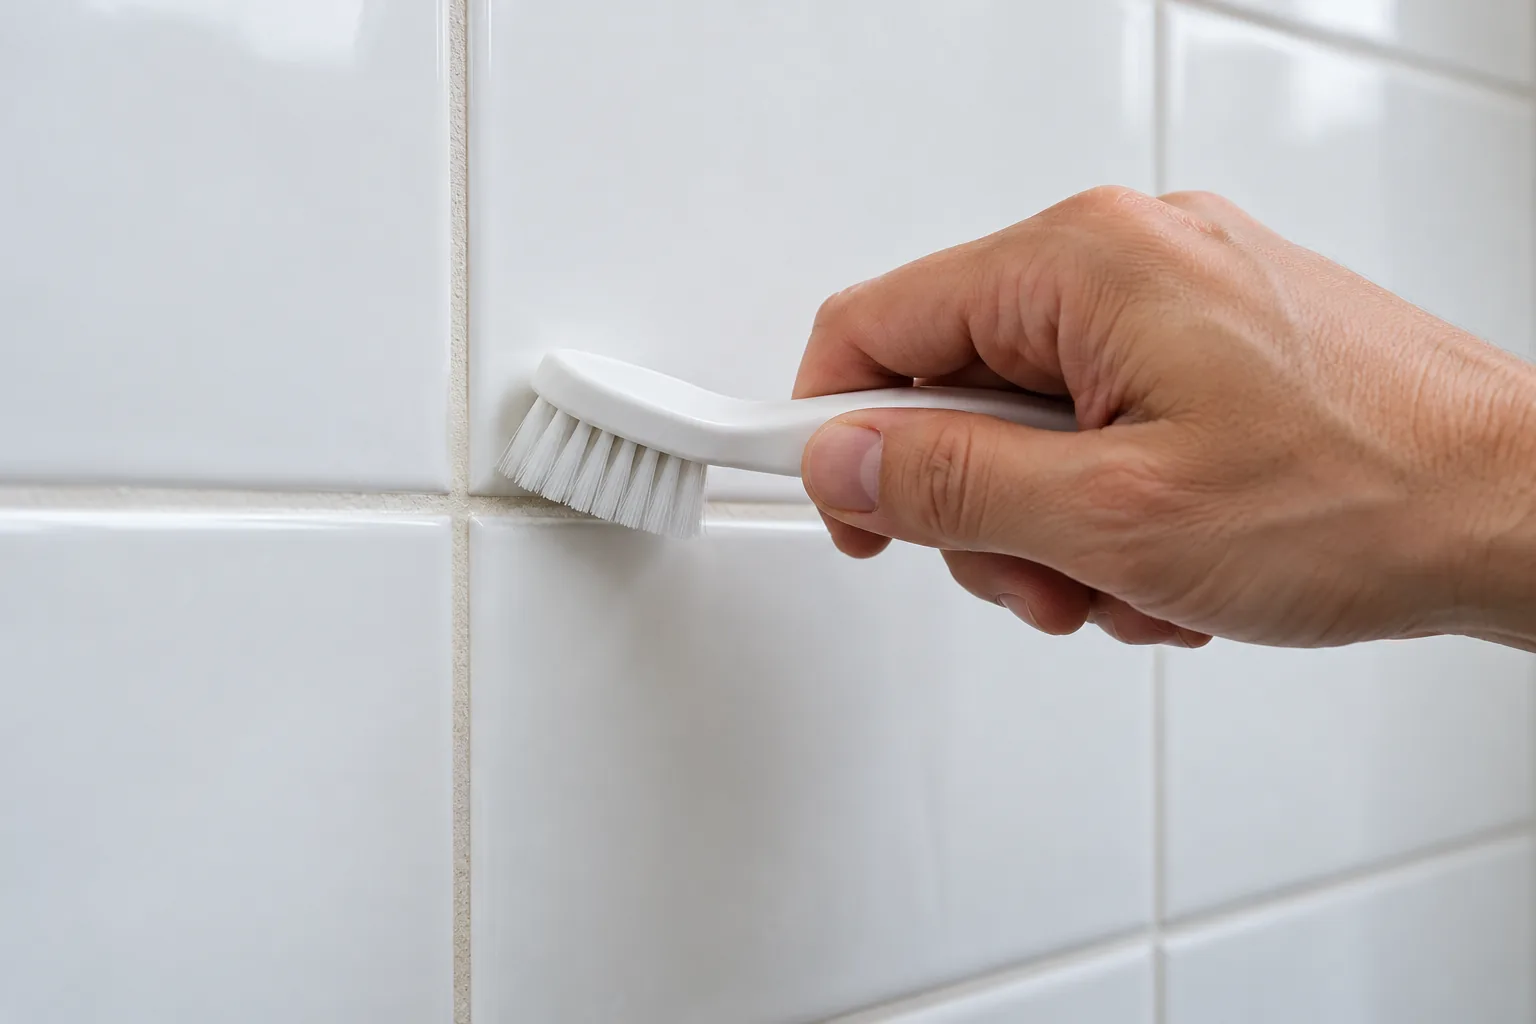
Lift ordinary soil with a controlled, gentle clean
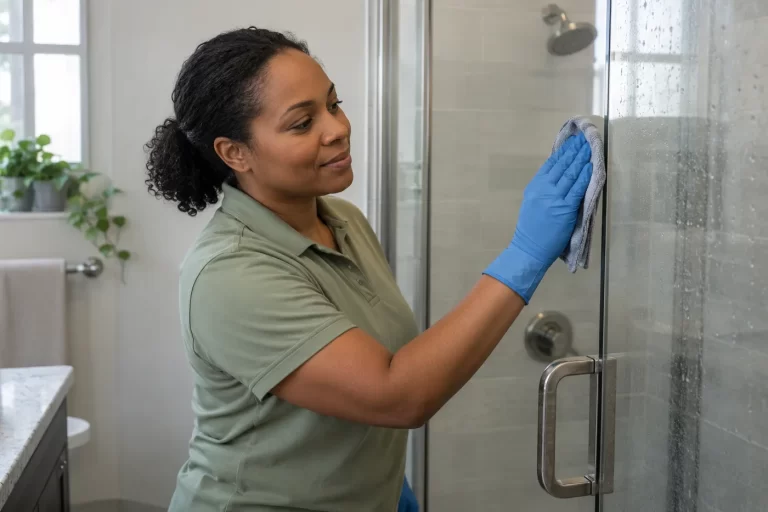
Ventilate the room and put on gloves if the product label directs you to. Move bottles and bath mats away from the work area. Use a dry soft brush or cloth to remove hair, dust and loose grit so you do not drag particles across the tile. Prepare only the cleaner permitted by the tile and grout instructions. For routine soil, a suitable pH-neutral tile cleaner is often a sensible starting point; some tile finishes also allow mild soapy water. Read the maker’s dilution, dwell and rinsing instructions rather than guessing a concentration.
Try a discreet test patch that includes both tile face and grout. Apply the product to a cloth, sponge or small brush where possible, keeping it off surrounding metal, painted trim and sealant unless those materials are listed as compatible. Give it the label’s stated time to work, then gently agitate the sound joint with a soft nylon brush. Short, light strokes along the line are enough to move softened soil. Do not dig into the joint, use a wire brush or attach a stiff spinning brush to a drill. Extra force may shed grout grains or scratch tiles, particularly at a worn edge.
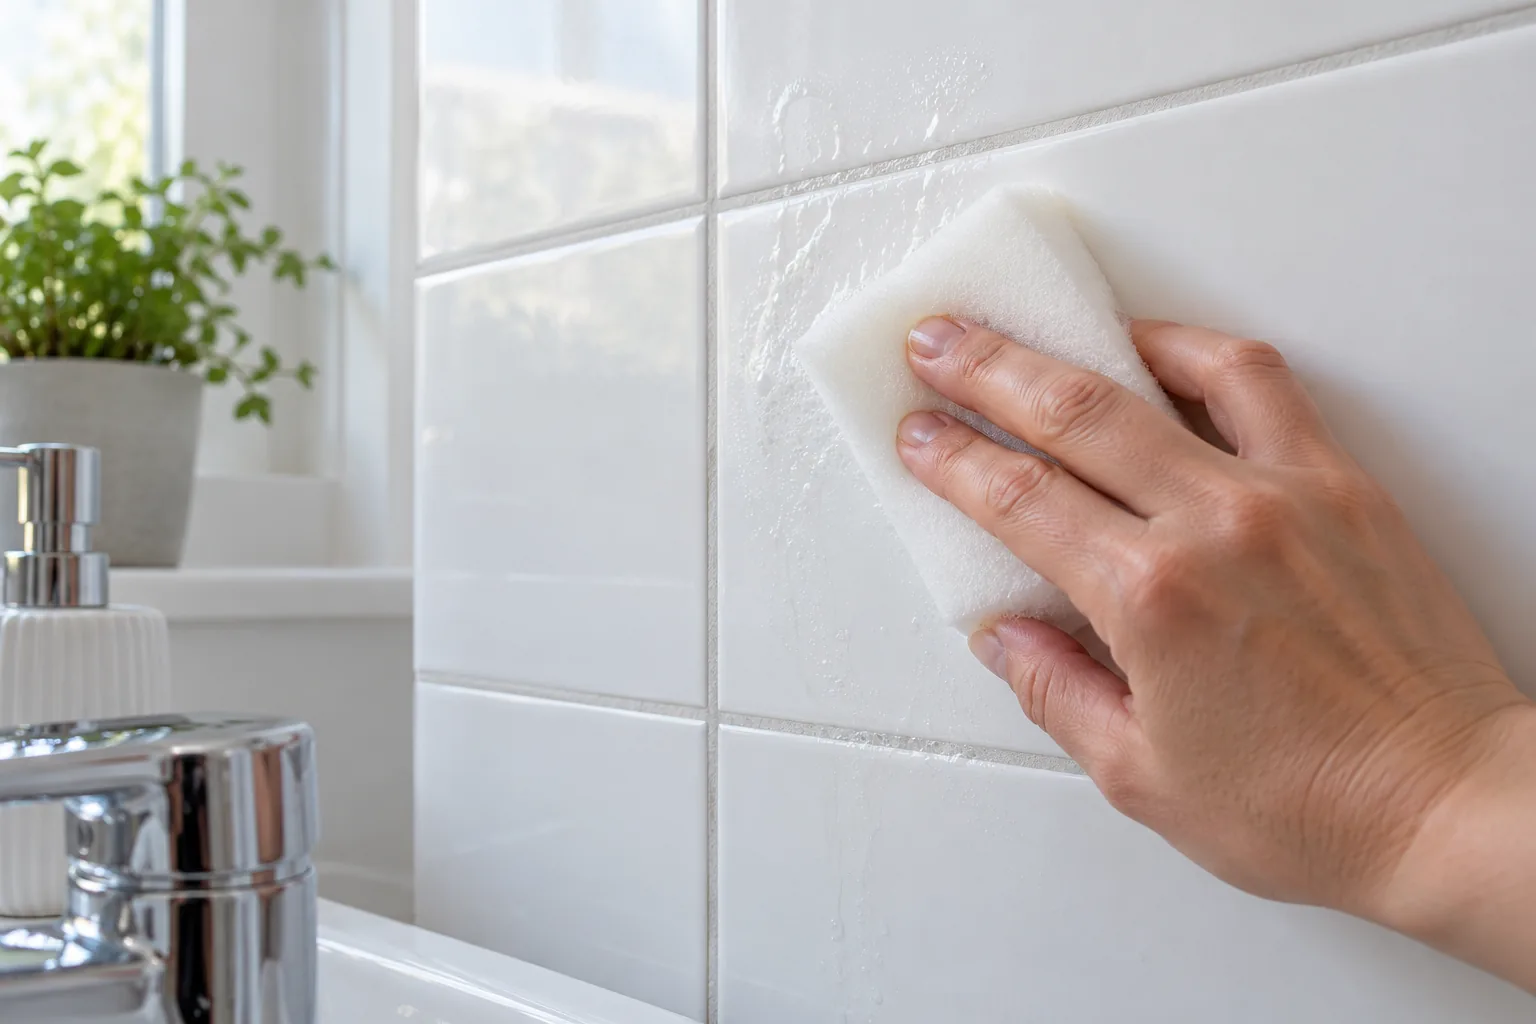
Wipe up the dirty solution before it dries back into the grout. Rinse a sponge in clean water, wring it out and wipe the section again. Change the water often; a grey sponge can redeposit the same dirt. Dry the tile and grout with a clean cloth, then inspect it once the surface has fully dried. A damp grout line can look darker even when clean, so judging it immediately after rinsing may lead to unnecessary repeat treatments.
Work on a large wall in small sections so the product does not dry on the surface. Control rinse water around cracked areas, electrical fittings and the bath edge. Repeat a pass only if the cleaner and material instructions allow it.
Distinguish a stain from a damaged or porous joint
A dark line is not necessarily a sign that the cleaner failed. If the grout remains intact but discoloured, it may contain old staining, a surface coating or deposits the mild cleaner cannot address. If a small section crumbles under a soft brush, shows gaps or has a crack, stop working it. Trying a stronger acid or a harder brush will not replace missing material. BAL’s guide to common grouting issues describes several causes of cracking that depend on the installation rather than its cleanliness.
Porous or damaged joints may absorb more water and look darker. Let them dry before assessing. If a patch repeatedly darkens after showers or sits beside a loose tile, ask for an installation or leak assessment. A grout pen or sealer may hide the symptom without repairing movement or water ingress.
Pay attention to the transition from grout to silicone. A flexible sealant bead around a tray or bath can discolour, split or detach. Scrubbing its edge aggressively can pull it away. Follow the sealant maker’s care directions and arrange replacement if it is failing. A neat-looking bead is not enough if there is a gap where water can pass. Cleaning and resealing are different jobs and need their own preparation and curing instructions.
Be cautious with acids, bleach and popular home mixtures
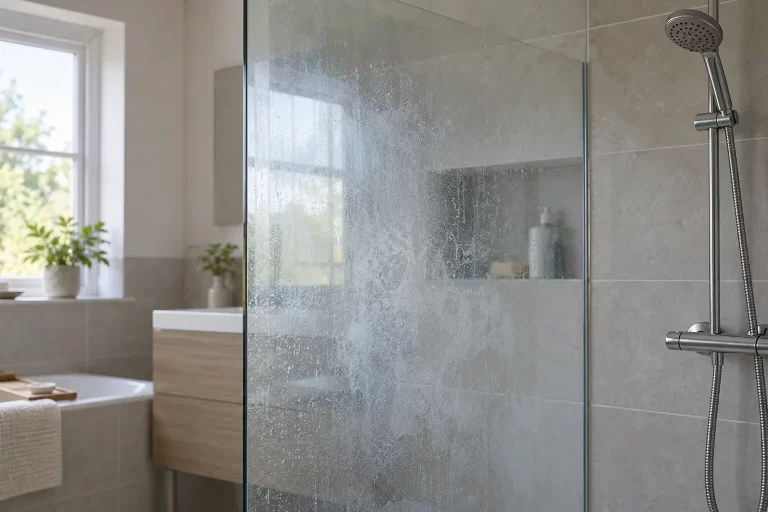
Mineral scale may call for a descaler, but acid is not a default cleaner for dirty grout. The Natural Stone Institute’s care guidance warns that acids can etch calcium-based stone such as marble and limestone. The exact tile, grout and product instructions govern compatibility, contact time and rinsing. Our bathroom limescale and material-safe cleaning guide covers that separate deposit in more detail.
Vinegar is acidic too. Its availability in a kitchen cupboard does not prove it is safe for a stone tile, cement joint, coating or adjacent fitting. Avoid blanket recipes that combine vinegar, bicarbonate, bleach or other products. Mixing cleaners can be hazardous, and fizzing is not evidence that a joint is being cleaned effectively. Use one compatible product according to its label, rinse as directed and let the surface dry before considering another treatment.
Bleach may temporarily lighten a mark without removing underlying soil or solving a damp problem. It can also affect coloured grout and nearby finishes. Reserve any specialist stain or mould product for a situation where the tile, grout and sealant manufacturers permit it, and follow the product’s ventilation, contact and safety directions. If a dark patch returns quickly after appropriate cleaning, investigate moisture and ventilation rather than repeatedly applying a stronger chemical.
Rinse without flooding and judge the result dry
Rinsing is part of the clean, not a cosmetic final touch. Cleaner left in a porous joint may continue acting or attract new soil. Wipe up the used solution, then pass a clean, wrung-out sponge over the tile and grout as the product label directs. Do not aim a shower head into damaged joints or pour buckets of water down a wall to speed this up. Use a fresh cloth to dry accessible surfaces and allow the room to ventilate.
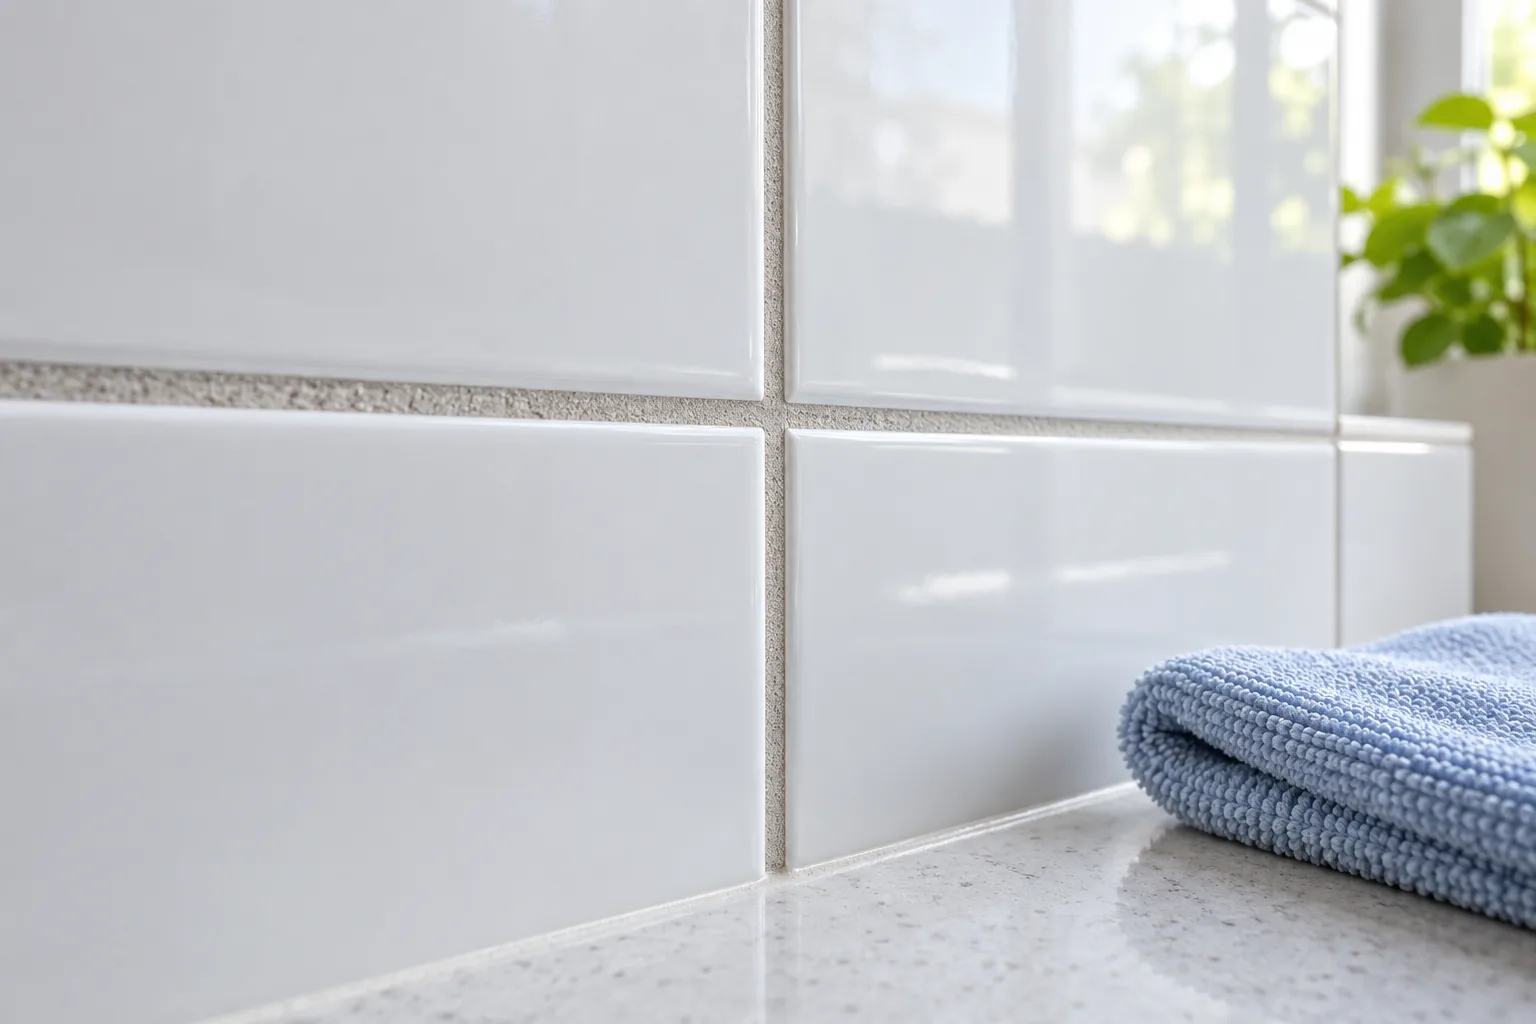
Once fully dry, compare the cleaned section with an untouched area. A sound line may retain older staining; a joint that loses material or sheds powder needs repair advice. For newly installed grout, check its cure and first-clean instructions before wetting it. BAL’s Grout product page lists a setting time for that product, illustrating why the actual grout’s instructions matter.
Keep clean grout easier to maintain
Rinse ordinary soap and shampoo splashes from tiles after use where practical, and remove standing water from ledges and lower wall edges. Good ventilation helps surfaces dry between showers. A soft cloth and suitable routine cleaner used regularly are gentler than waiting for a thick layer of soil and then attacking it with a concentrated product. Keep the brush itself clean and replace it when bristles become bent or stiff.
Do not assume every grout needs sealing. The right treatment depends on the grout type, tile, existing sealer and manufacturer instructions. Sealer must be applied to a suitable, fully prepared surface and cannot make a failed joint structurally sound. If you are unsure whether a joint is epoxy, cementitious or previously sealed, ask the installer or product maker before applying anything. Likewise, a colour-restoration product should be considered only after the joint is clean, dry and sound.
For a larger bathroom reset, one-off deep cleaning can address ordinary accessible surface soil. Cracked grout, loose tiles, failed sealant and underlying damp need a tiler or other appropriate specialist. Keeping that boundary clear saves time and avoids hiding a defect beneath a cleaner-looking surface.
Common questions
What brush is safe for bathroom grout?
Start with a small soft nylon brush on a sound joint, after checking the tile’s scratch sensitivity on a hidden patch. Use light strokes. Avoid wire bristles, sharp picks and aggressive power brushes. If grains come away, stop and assess the joint.
Can I use vinegar to whiten grout?
Do not treat it as a universal grout cleaner. Vinegar is acidic, and tiles, grout and nearby fittings have different tolerances. Follow the exact material maker’s advice and choose a compatible labelled product. Discolouration caused by damage or moisture will not be repaired by acid.
Why does the line look dark just after cleaning?
Moisture can temporarily darken a porous joint. Allow it to dry fully, then inspect under good light. If it remains damp, repeatedly darkens or shows cracks, gaps or loose material, seek an assessment rather than applying more cleaner.