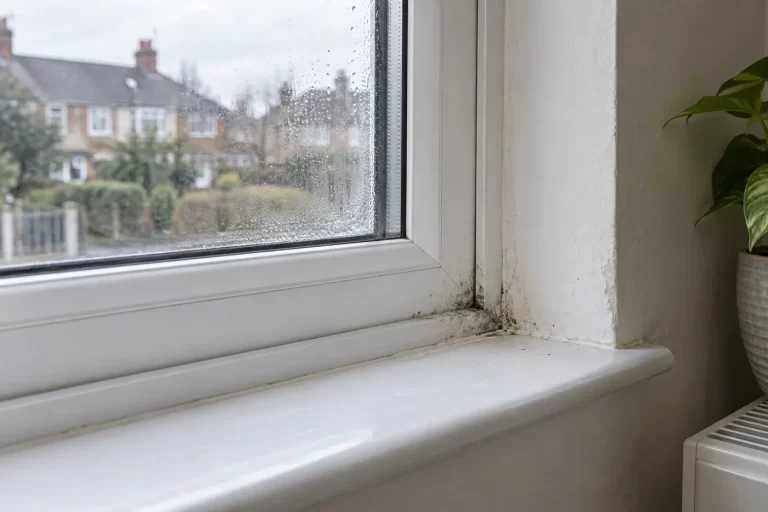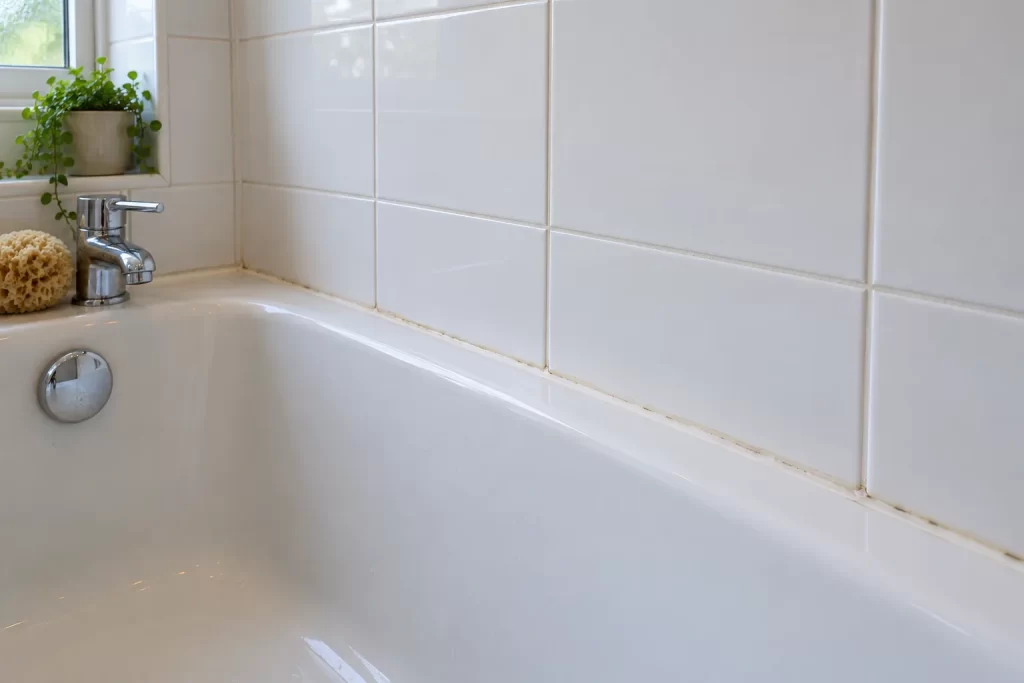
To clean bathroom silicone, first inspect the bead. If it is continuous, firmly attached and only has surface marks, use a sealant-compatible cleaner exactly as its label directs, wipe gently, rinse and dry. If the silicone is lifting, cracked, split, missing or letting water through, cleaning will not restore the seal. Arrange proper removal and replacement, and investigate any leak or persistent dampness around it. A dark mark that remains within an intact bead after suitable cleaning may also call for replacement rather than repeated harsh treatment.
Where a bath, shower tray or basin meets the wall, silicone helps bridge movement and keep water in the wet area. A bead may look discoloured but remain attached, or look clean while hiding a gap. Judge its condition before its colour.
Start with a close inspection on a dry surface
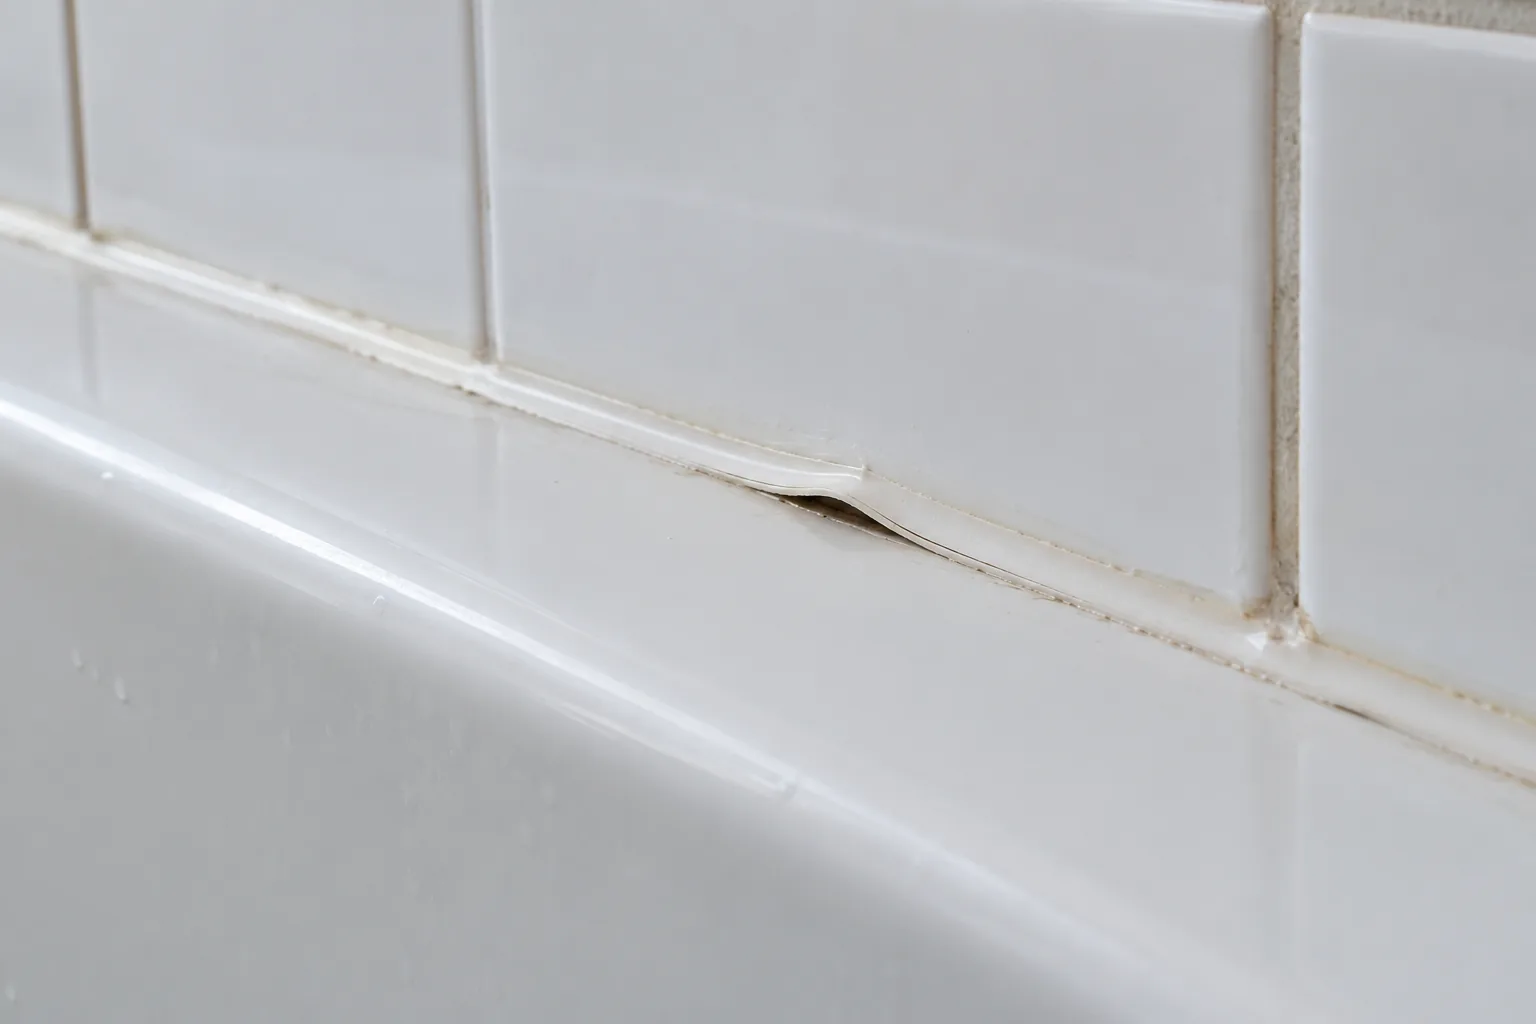
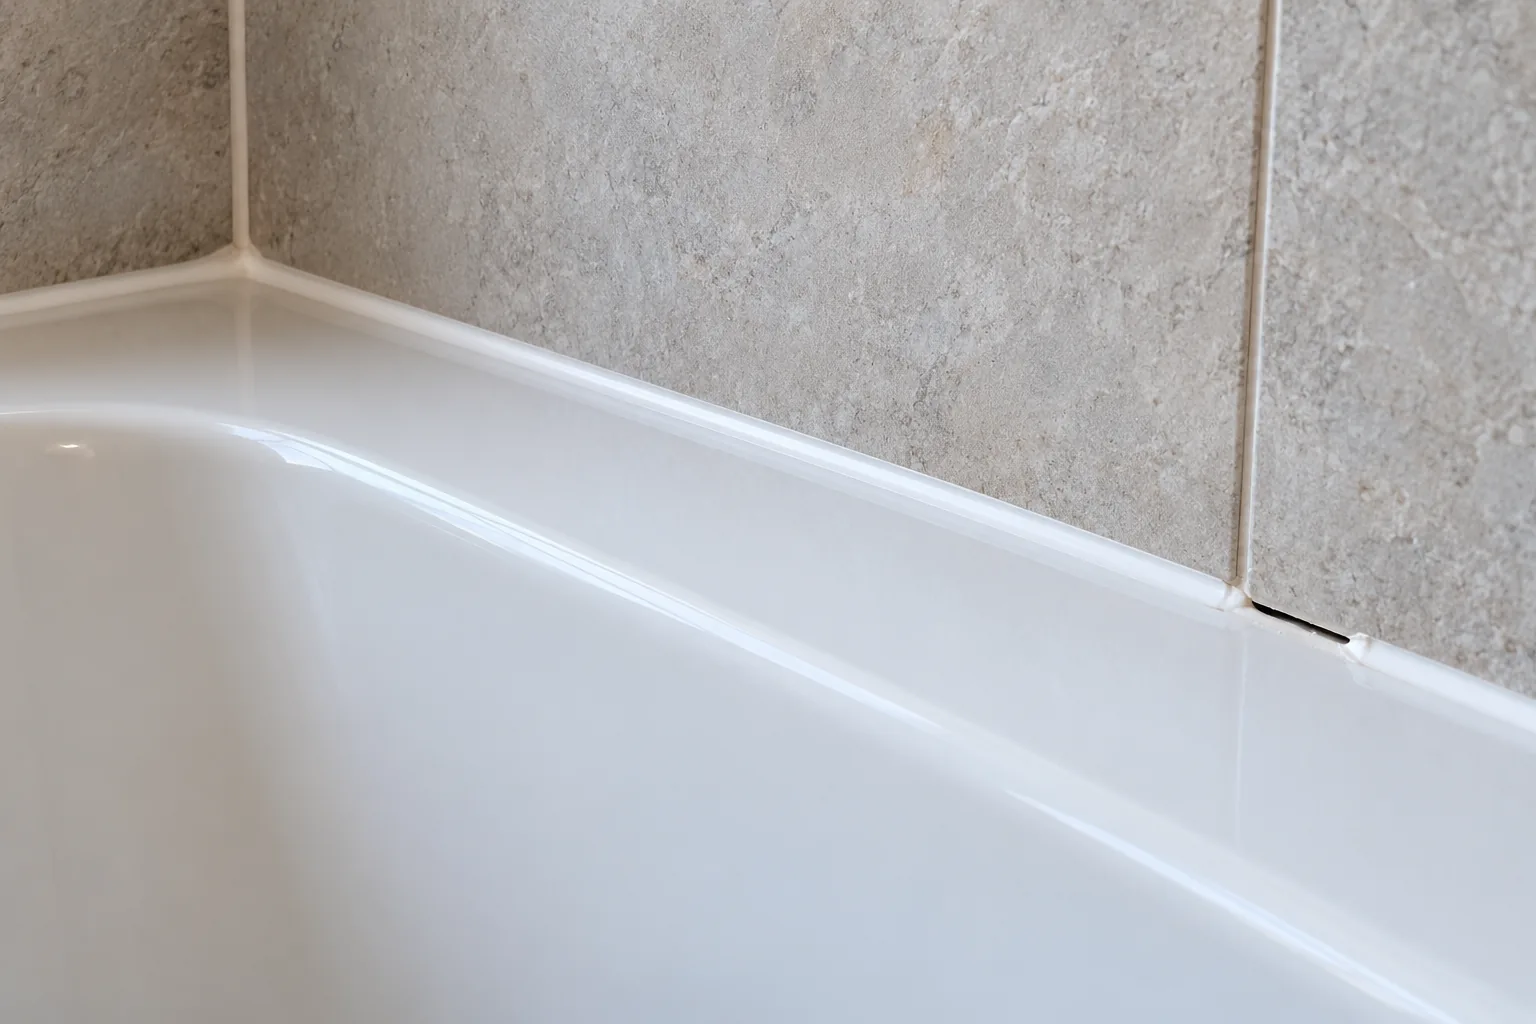
Allow the bath or shower to dry, then look along the silicone in good light. Check the whole length, especially corners and the lower ends of a shower screen where water collects. Is the bead continuous? Does it touch both surfaces all the way along? Are there gaps, cracks, curled edges or sections that have detached from tile, bath or tray? Do not pull at a loose edge to test it; that could enlarge a defect. A photograph can help you compare the area after cleaning or explain the problem to a repairer.
Distinguish silicone from grout. Grout usually fills the fixed joints between tiles; a flexible bead is often used at a change of plane or where tile meets a bath or tray. Trying to scrub a failed silicone bead as if it were grout can tear it further. If a tile moves, water has marked the wall or floor nearby, or a smell and damp patch persist despite drying the surface, the visible bead may not be the only issue. Ask an appropriate specialist to check for water ingress rather than simply covering the gap.
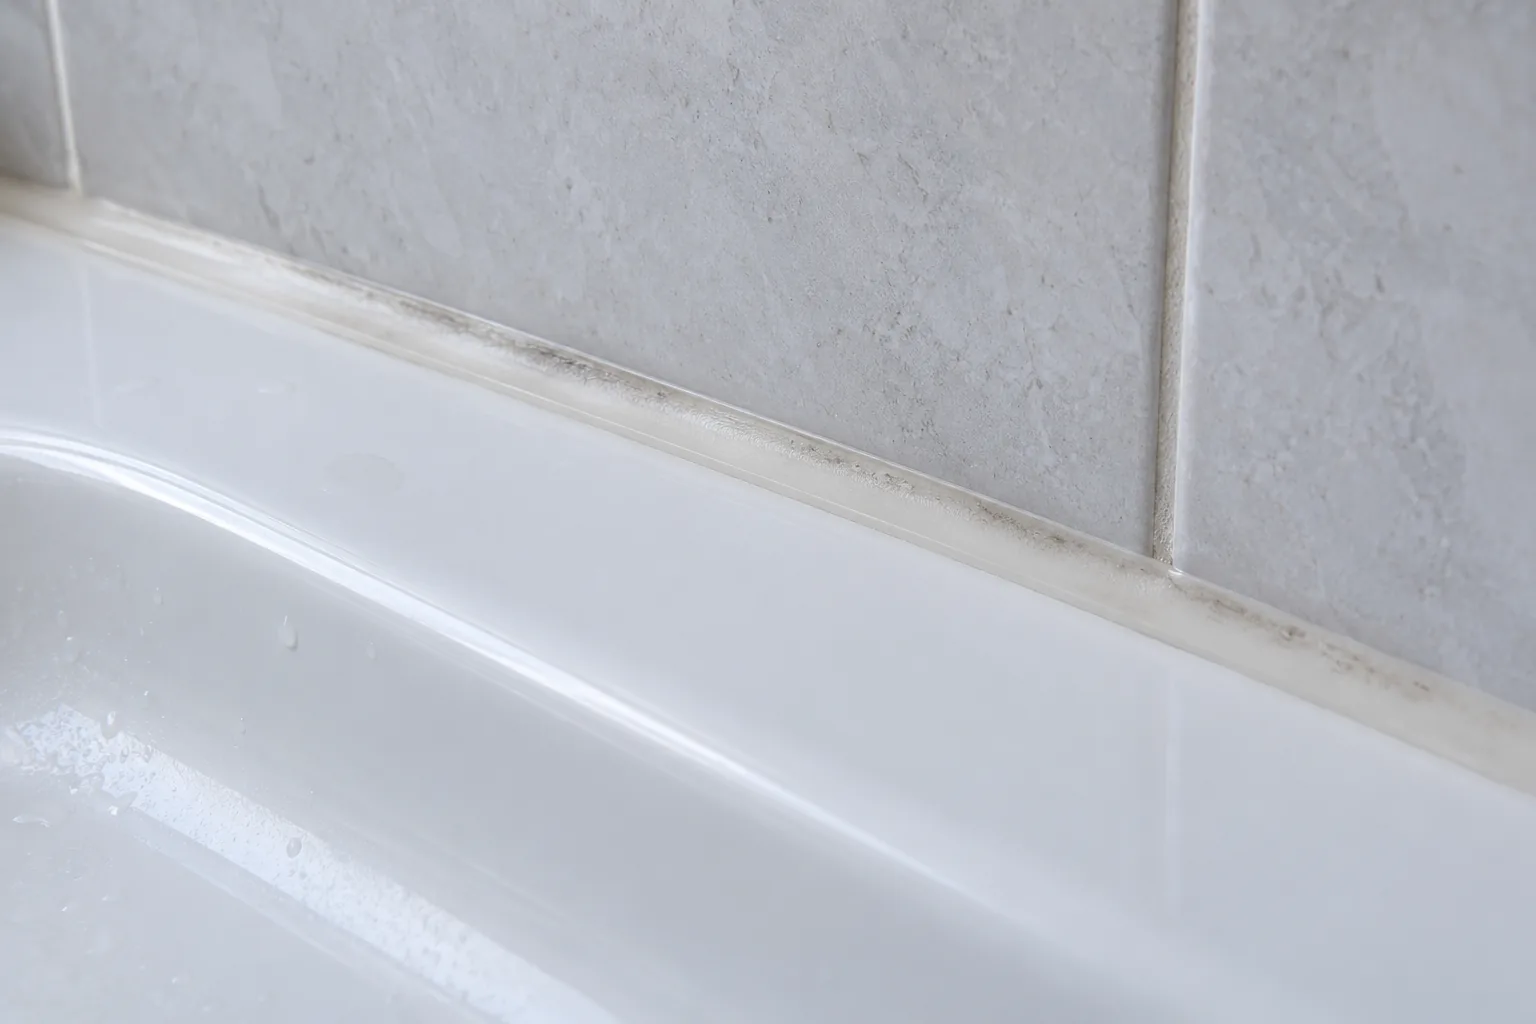
Soap film may wipe away, while black or pink spotting can be more stubborn. Colour alone cannot show how deep a mark goes. UniBond’s silicone-cleaning guidance recommends a suitable bathroom mould remover and replacement when mould is too deep to remove. Check compatibility with the sealant and nearby materials.
Clean an intact bead without attacking its edges
Read the sealant and bathroom-surface care instructions if available. Tile, natural stone, acrylic trays, coated glass and metal finishes can have different chemical limits. Choose a compatible product for the actual soil. For light residue, a soft cloth with warm water and a little mild detergent may be enough where the manufacturer permits it. For mould spotting, use a product specifically approved for bathroom silicone and the surfaces it may touch. Follow its dilution, contact time, ventilation, gloves and rinsing directions. Never mix cleaners.
Apply product carefully to the cloth or small target area rather than flooding the whole junction. Wipe along the bead with light pressure. A soft cloth or non-abrasive sponge is preferable to a stiff toothbrush, scouring pad or scraper. Work from the intact centre towards an edge gently, so you do not catch and lift it. Do not jab a pointed tool into a corner. If the bead moves, peels or sheds pieces during ordinary gentle wiping, stop: it is no longer a sound surface to clean.
Rinse as directed with a clean, damp cloth and avoid leaving product pooled behind fittings or at the bath rim. Dry the bead and surrounding surfaces, then inspect again once fully dry. A wet line can make a discoloured bead look temporarily better. If the mark has gone and the silicone remains well adhered, routine care can continue. If only the colour remains while the bead is otherwise sound, ask the manufacturer whether it is staining or a sign that the sealant should be renewed; do not keep increasing the concentration or dwell time in hope of whitening it.
Recognise the point where replacement is needed
Replacement is appropriate when the bead has detached, is cracked or missing, or no longer forms a continuous water-resistant junction. Deep staining that cannot be removed with a suitable product may also justify renewal. UniBond’s FAQ recommends removing and replacing old silicone for a proper new application, while allowing certain appearance-only refresh products over sealant that is still functioning. That exception does not turn a failed or leaking joint into a sound one.
Do not smear new silicone over wet, dirty or loose material. It may look sealed for a short time but can hide a gap and undermine adhesion. A repairer should select a suitable bathroom sealant, remove failed material as required, prepare and dry the surfaces, apply a continuous bead and respect the product’s cure time before water exposure. UniBond’s cleaning and replacement guide also emphasises removing old material and checking cure instructions. Exact timing depends on the product, bead size and room conditions; do not assume one universal number of hours.
If the bath or tray moves when used, or a joint repeatedly fails in the same place, ask why before simply resealing. Movement, installation details or trapped moisture can defeat a new bead. Similarly, a water mark on the room below, peeling paint nearby or a soft wall surface needs a leak or building-fabric assessment. Cleaning and resealing are separate from fixing the underlying cause.
Do not mistake recurring mould for a cleaning-only issue
Mould can recur when moisture remains available. A small spot on sound silicone can be cleaned using a compatible product, but a patch that rapidly returns deserves a look at ventilation, leaks and water left on the surface. Use the bathroom extractor and follow the room’s ventilation guidance; dry accessible wet edges after bathing where practical. Our guide to condensation and mould prevention checks covers the wider moisture pattern, while how to detect and get rid of mould addresses broader household signs.
The NHS Manchester damp and mould leaflet explains that bathing and leaks can introduce moisture, and that trapped moisture can lead to damp and mould. A clean-looking bead does not solve a leaking pipe or damp wall. If mould is extensive, keeps returning, or someone has symptoms affected by damp, seek suitable professional and health advice.
For a small sealant cleaning task, protect yourself as the product label directs and keep the room ventilated. Do not combine a bleach-based product with vinegar, descaler or another cleaner. More chemical does not make a failed bead adhere again. If a product bleaches a mark but the silicone still has a gap, the maintenance problem remains.
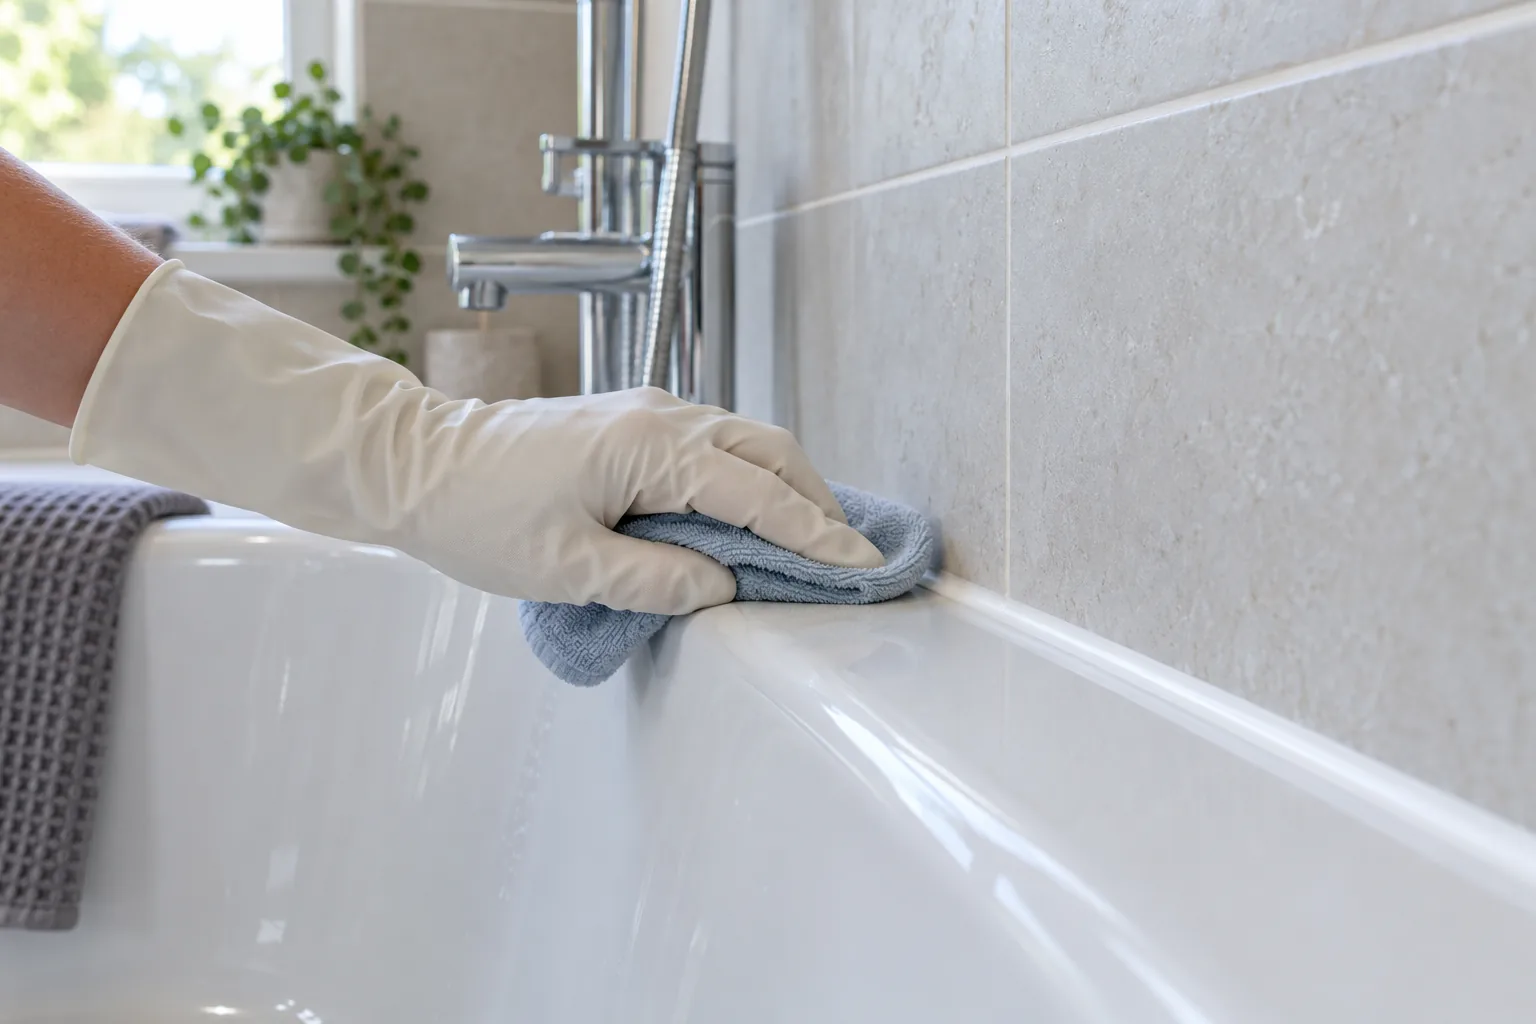
Keep the bath edge dry enough to inspect
After bathing, rinse away visible product residue and remove standing water from the bath edge or shower tray lip with a soft cloth. Let the room ventilate. An occasional gentle wipe is easier than allowing a thick layer of soap film to build up against the sealant. Avoid storing bottles directly on a wet bead, as they can hide water and make inspection harder. When you clean the surrounding tile, check the cleaner’s compatibility with silicone and any metal or stone it may touch.
Inspect the bead periodically while the room is dry. Look at corners, around taps and behind shower-screen profiles where a small gap may be missed. If you see a change, photograph it and decide whether it is a removable surface mark or a physical break. Replace a failed bead promptly and assess any sign of water ingress. The condition of the joint is more important than making it look uniformly white.
Our one-off deep cleaning service can help with ordinary accessible bathroom surfaces. Where mould contamination is wider, mould removal may be relevant after the moisture source has been addressed. Failed sealant, leaks and damage to surrounding material still need repair by an appropriate tradesperson. A cleaning visit should not be relied on as a substitute for restoring the joint.
Common questions
Can I put new silicone over old silicone?
An appearance-only refresh product may be allowed over a sound existing bead under its manufacturer’s instructions. For silicone that is loose, split, leaking or contaminated deep within the joint, proper removal and replacement is the safer course. Check the new product’s preparation and curing instructions.
Why do black marks keep returning after cleaning?
Moisture, poor drying, a leak or staining within old sealant may be involved. Recheck the bead’s adhesion and the surrounding area. If an appropriate cleaner does not remove the mark, or it returns quickly, investigate moisture and consider replacement rather than repeatedly applying stronger chemicals.
Is all discoloured silicone leaking?
No. An intact, well-adhered bead may be stained but still continuous. Conversely, a clean-looking bead can have a gap. Inspect the physical joint on a dry surface and look for signs of damp nearby; seek repair advice for gaps, loose sections or water ingress.