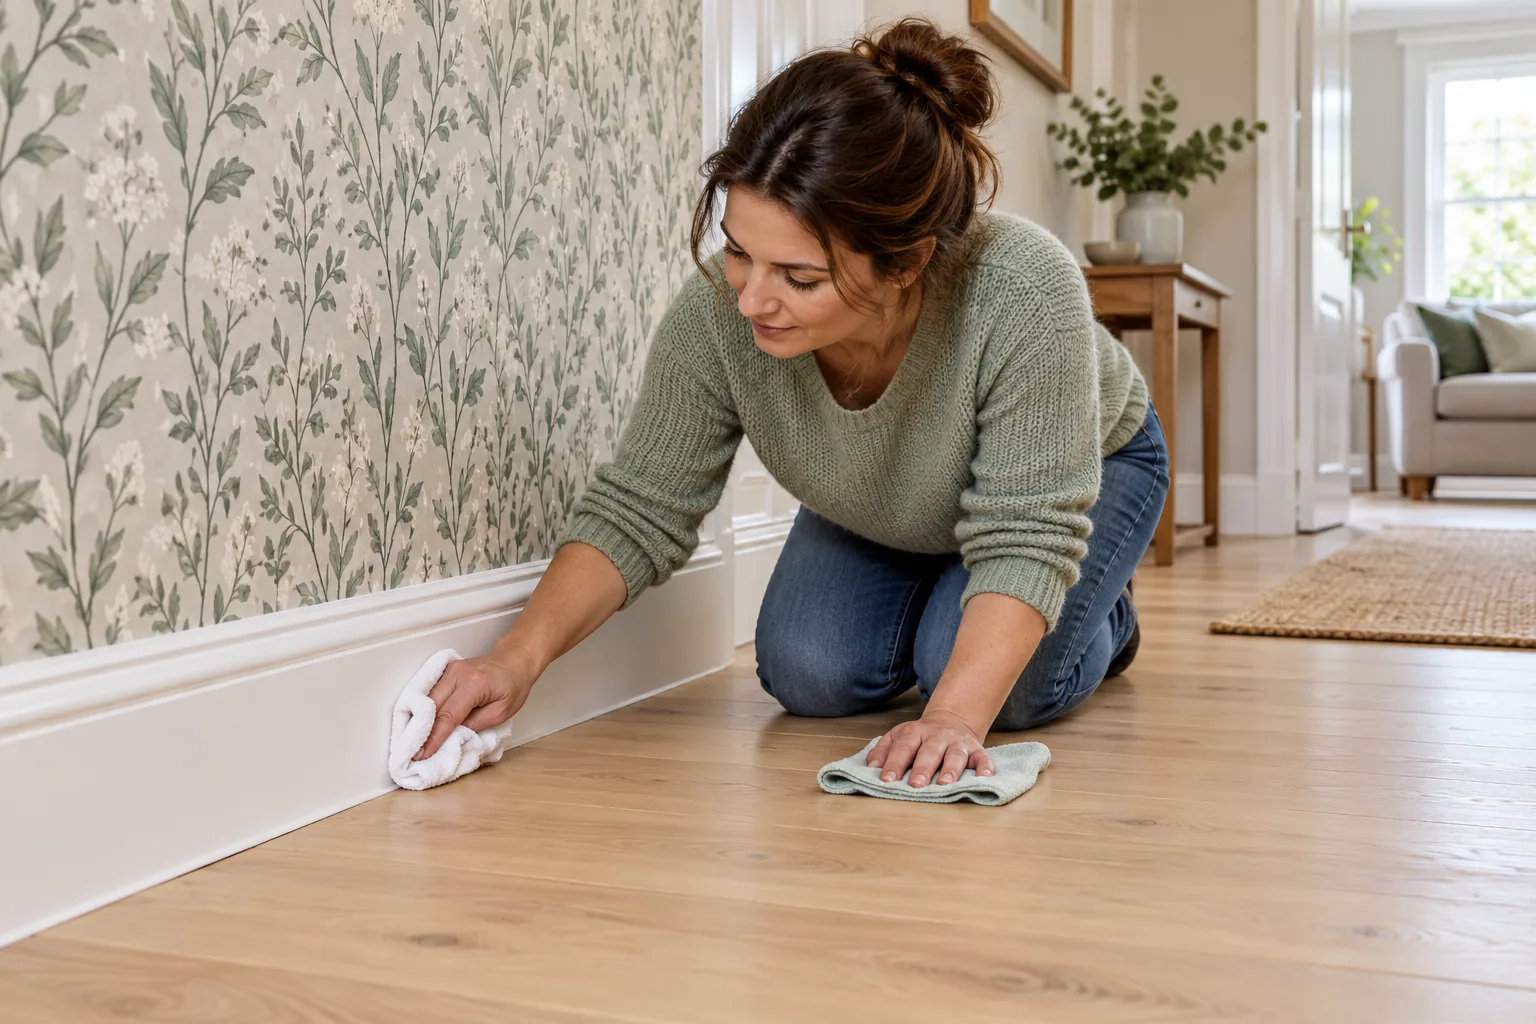
Skirting boards usually need a dry clean before they need a wet one. Lift loose dust from the top edge and moulded grooves with a soft brush or suitable vacuum attachment. Then decide whether the painted face has a mark that needs further treatment. If the finish is sound and its care instructions allow it, use a barely damp cloth on a small area and dry it straight away. Keep moisture away from loose wallpaper, cracked paint, open joints and the flooring below. The point is to clean the trim while leaving its finishes firmly attached.
The board may be gloss, eggshell or an older unknown paint; the wall above may be washable wallpaper, delicate paper or matt emulsion; the floor below may be carpet, timber, laminate or tile. One generous spray can reach all three.
Inspect the finish and the joint first
Look along the top edge for loose dust, lifted wallpaper, gaps in caulk, peeling paint and dark or damp patches. Check the lower edge where grit and mop water can collect. Rubbing harder will not replace missing paint or tighten loose paper.
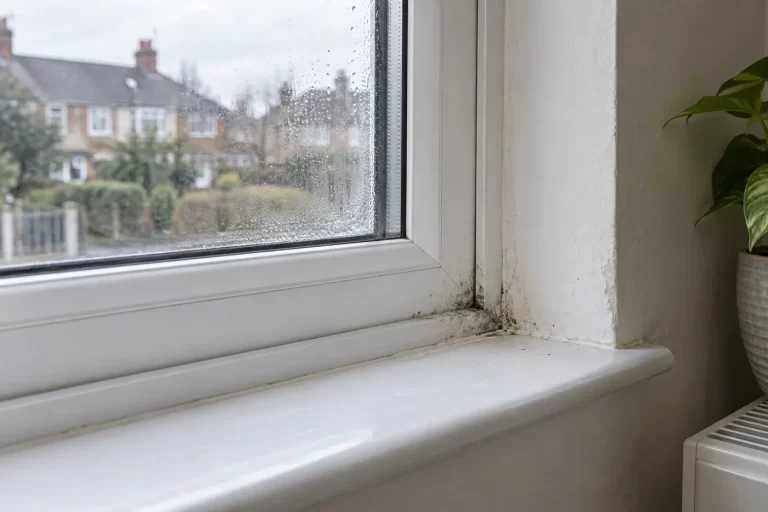
If the wall or skirting feels damp, or a mark returns after cleaning, pause and look for the cause. It could involve condensation, a leak or a building defect; the appearance alone cannot diagnose which. Cleaning a visible patch will not correct the moisture problem. The site’s guide to condensation and mould in UK homes gives a starting point for recording what you see and seeking the right help. Do not brush or vacuum visible mould as though it were ordinary dry dust.
Work out what the surrounding surfaces are before selecting a cloth. The wallpaper maker Graham & Brown advises dry methods for wallpaper generally and permits light damp cleaning only for products identified as washable. A patterned paper beside the skirting may have an unknown coating or a fragile paste joint. Do not assume that a safe method for painted woodwork is also safe for the wall.
Prepare the floor and tools
Move small furniture without dragging it across the floor. Put a clean dust sheet where it will protect carpet from debris. If a heavy unit is difficult to move safely, clean the accessible length and leave the concealed section until it can be moved properly.
Keep the kit modest: a soft, clean brush; a vacuum with a gentle crevice or brush attachment; two or three clean microfibre cloths; and, if the painted finish permits it, a little water and the cleaner recommended for that finish. Do not start with an abrasive pad, stiff toothbrush or strong degreaser. Different paints resist rubbing and moisture differently. If you know the product used on the skirting, follow its cleaning advice. If not, test the gentlest proposed method on a discreet, sound section and allow it to dry before judging the result. Stop if colour transfers, the sheen changes or the surface softens.
Keep a dry cloth ready before damp cleaning. Read the directions of any labelled product and do not mix it with another. Plain dust seldom needs a chemical cleaner.
Remove dry dust from the top edge and grooves
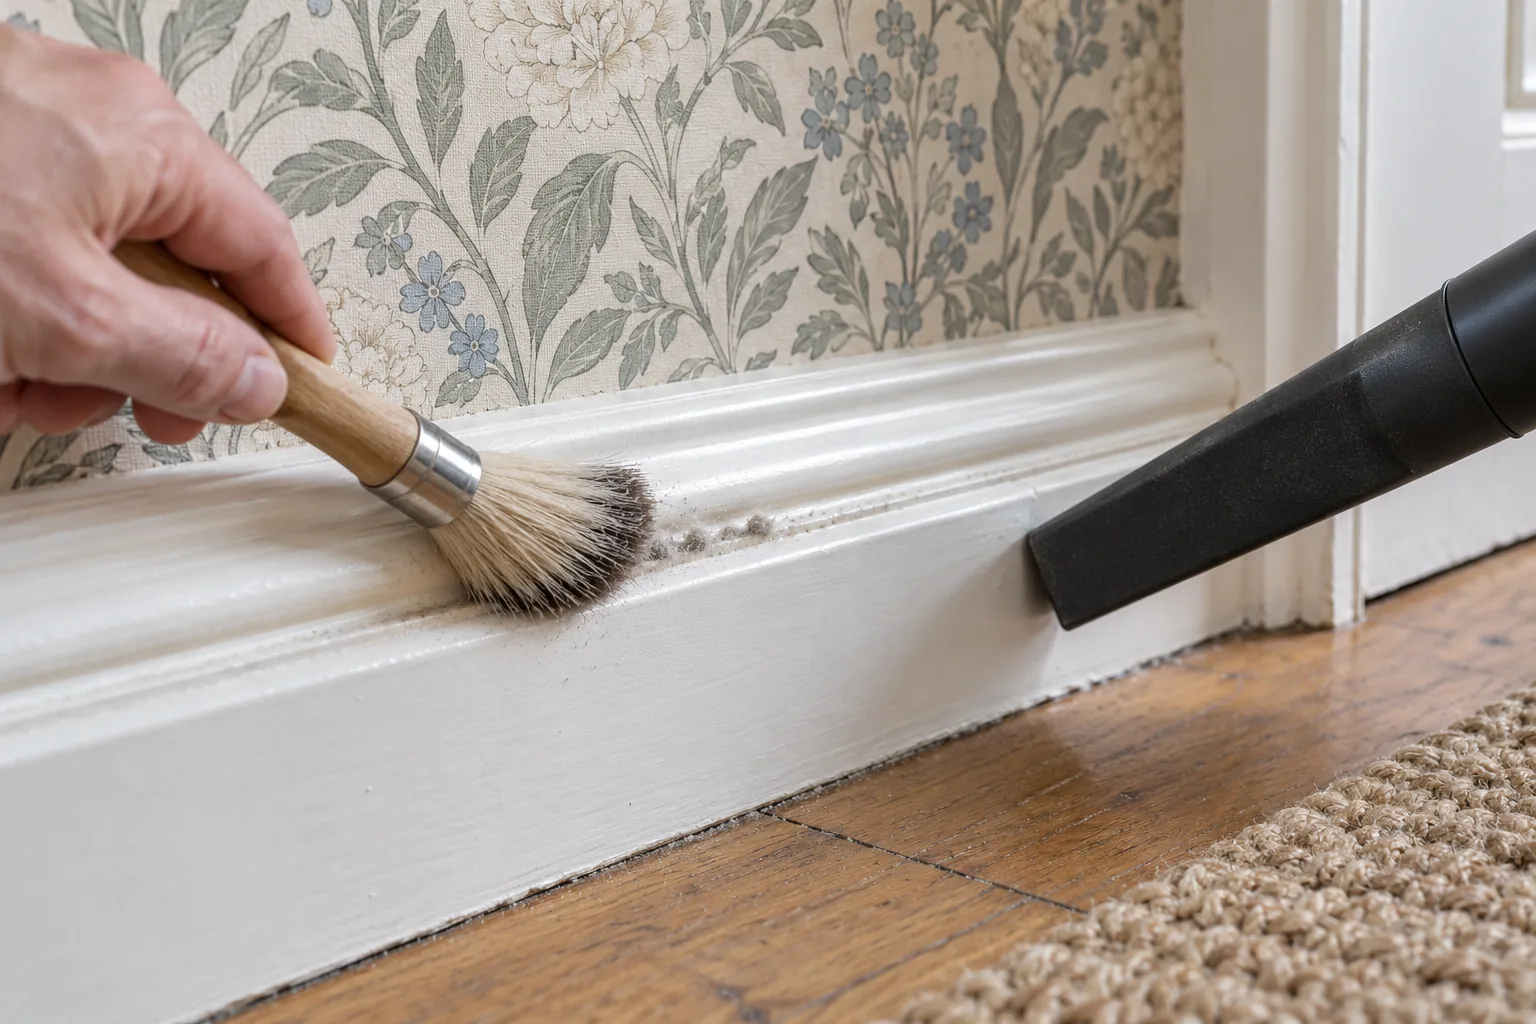
The top ledge catches a thin line of dust that a floor mop does not reach. Brush it gently towards a vacuum attachment or into a folded dry cloth. On a shaped profile, follow the grooves with a soft brush rather than forcing a cloth into them. Keep the vacuum nozzle just clear of loose paint and wallpaper. Its suction and hard edge can lift a weak finish if you press it against the joint.
Work in short sections and clear a dirty brush before moving to a pale board. Cambridge University Hospitals advises damp dusting for people with diagnosed dust mite allergy. At a vulnerable skirting joint, contain loose debris with a suitable vacuum attachment rather than flicking it into the room; use a damp cloth only on a finish that tolerates it.
Do not scrape the joint with a knife or old bank card: it may cut wallpaper or caulk. A remaining line could be paint, adhesive, discolouration or a gap needing repair.
Protect wallpaper and painted walls
Where wallpaper meets the board, aim your tool at the skirting, not into the seam. If the paper is lifting, do not wet the edge or pull at it to clean beneath. Photograph the condition and arrange an appropriate repair before more dirt can lodge in the gap. Some wallpapers are designed to be washable; others are not. The maker’s classification and care instructions matter more than a general tip found online.
The same caution applies to paint on the wall. A durable washable paint may tolerate a light wipe, while a flat decorative finish can polish or mark when rubbed. Do not use a wet sponge to create a visibly cleaner strip above an otherwise matt wall. That line can be more noticeable than the original dust. Clean the board itself and leave the wall to its own appropriate method.
Avoid masking tape on a delicate edge: removing it can pull weak paint or paper away. Clean a small mark on sound skirting with a folded cloth, without forcing moisture into a joint needing repair.
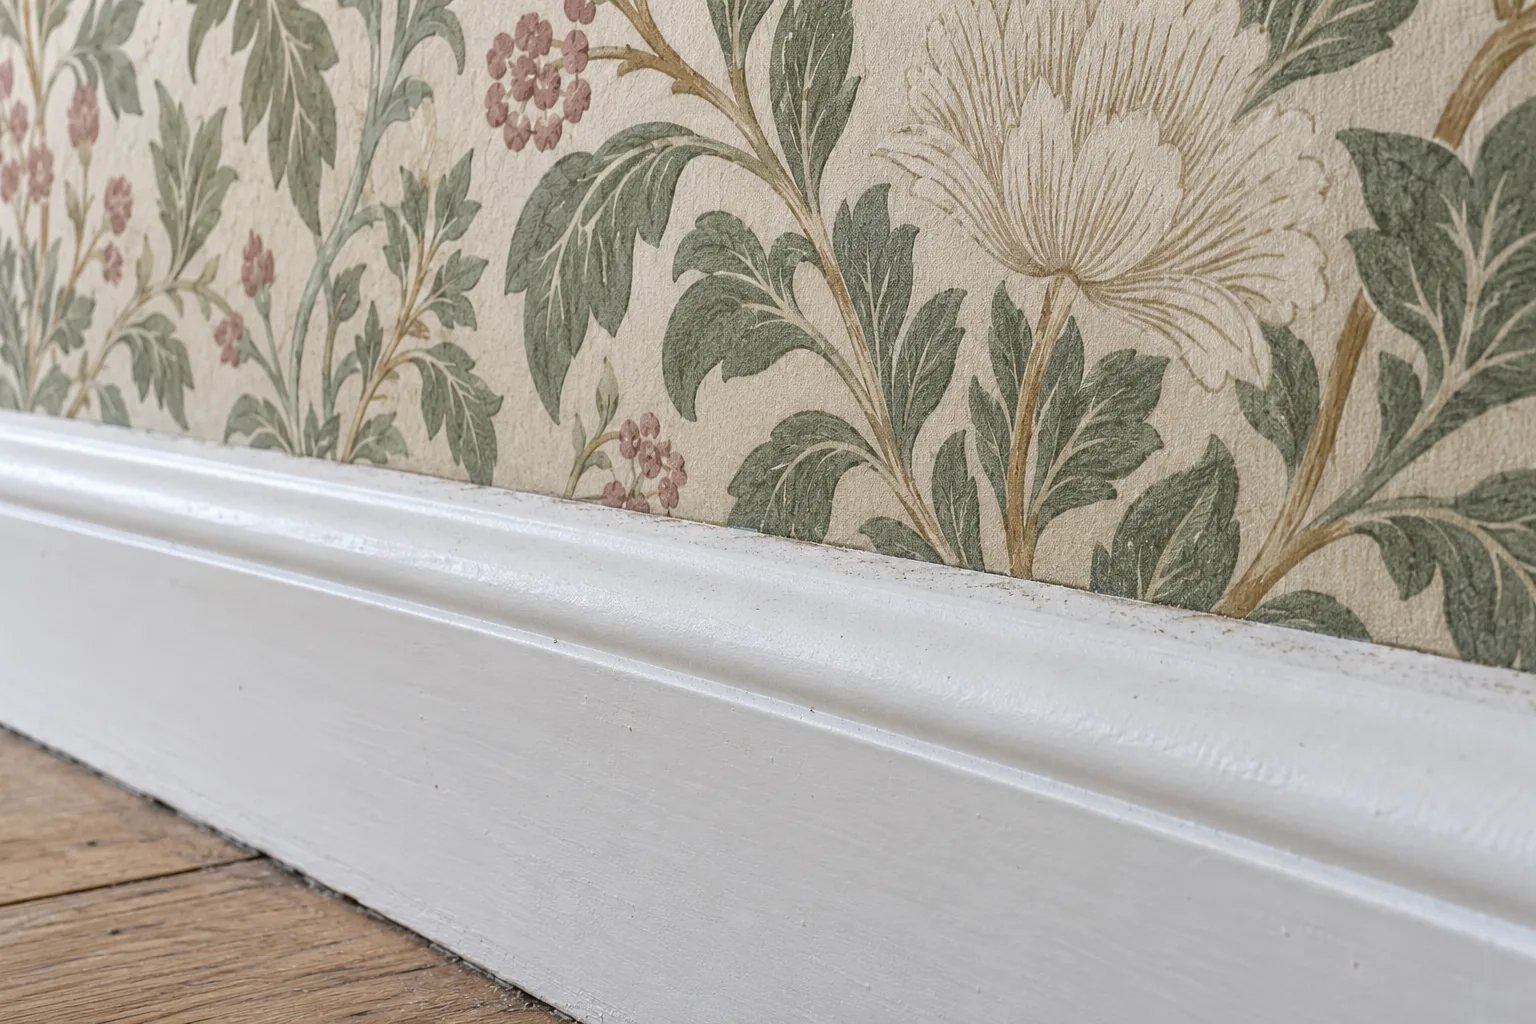
Wipe a sound painted section without flooding it
After the dry pass, examine each remaining mark. A shoe scuff on a sound, washable painted face may respond to a barely damp cloth. Fold the cloth into a small pad so you can control where it touches. Start in the middle of the board, away from the wall and floor seams, and use light strokes along the length. Check after a few passes rather than rubbing one spot until the finish changes.
For stubborn soil, use only a product suitable for the actual paint finish and follow its label, including rinsing if required. Apply it to the cloth if directions allow, so it cannot run behind the board or onto carpet. Remove residue as directed and dry promptly. A mark that needs force or repeated treatment may be a damaged coating best left for a touch-up.
Freshly painted trim deserves particular care. A surface can feel dry before it has fully cured. Benjamin Moore distinguishes touch-dry and full-cure times and directs readers to each paint’s technical data sheet. Ask the decorator or paint maker when the actual finish can be cleaned; do not assume a universal waiting period.
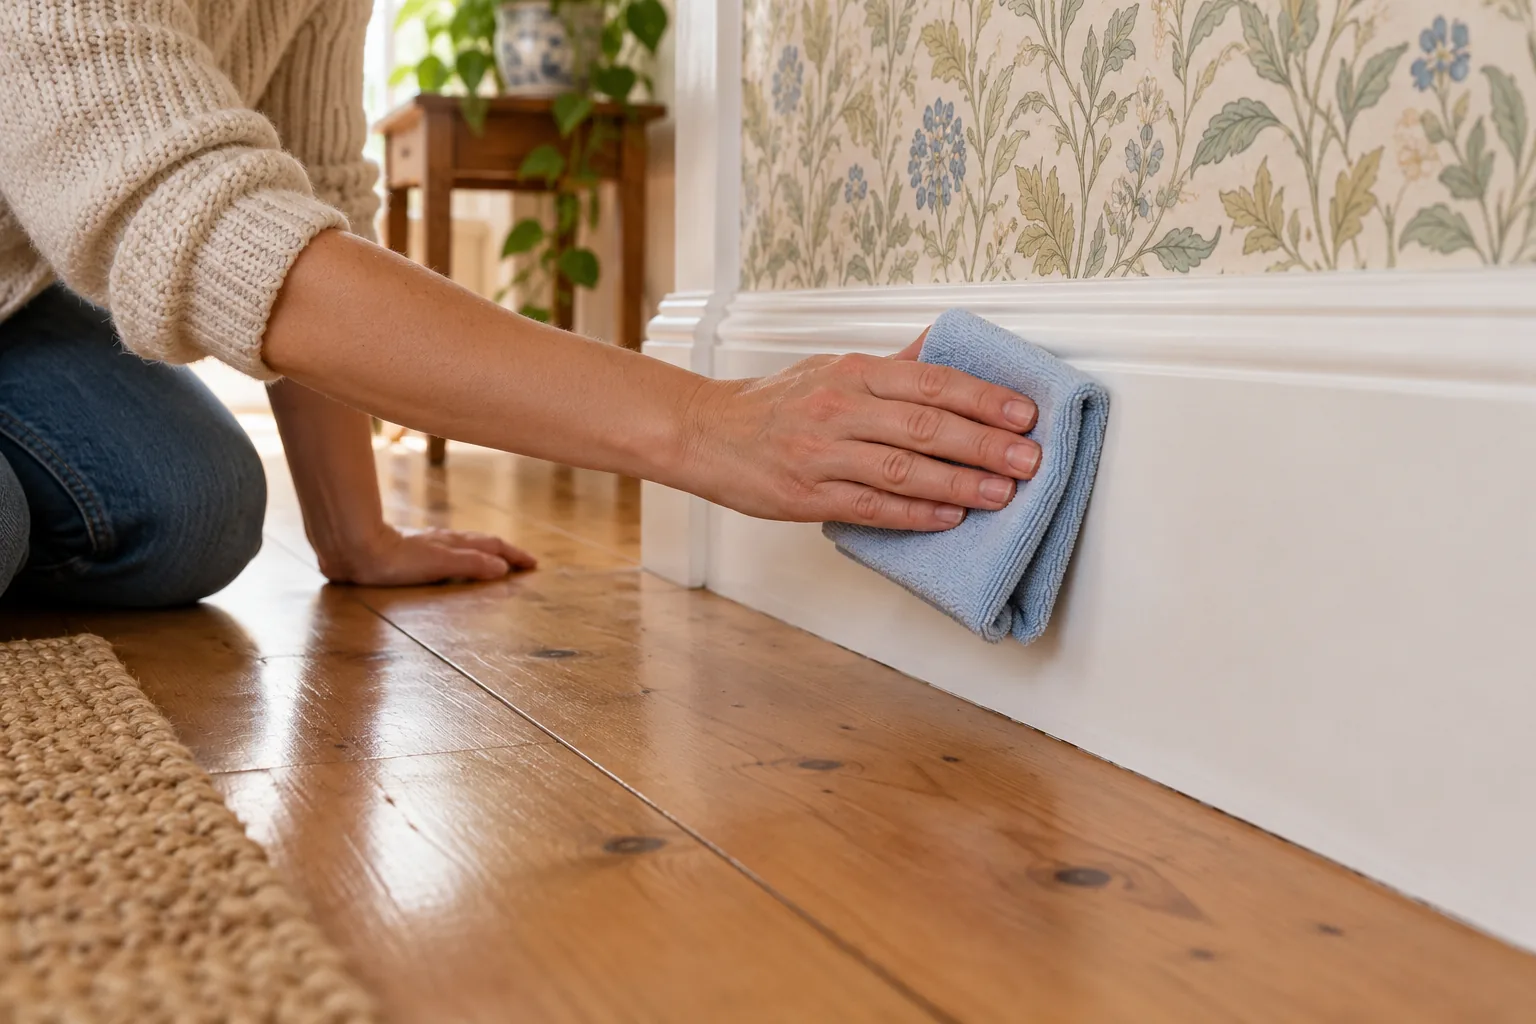
Mind the floor beneath the board
The lower edge of skirting is a junction between materials. On carpet, use a dry or barely damp approach so you do not soak the pile or leave cleaner at the edge. If there is accumulated grit, vacuum it with an attachment that will not tug the carpet. On timber or laminate, catch drips immediately and avoid moisture entering open seams. Tile may tolerate more water, but the skirting and grout line above it still need their own care.
Corners and door frames collect marks from shoes and bags but can also have chipped paint. A cloth can remove surface dirt, not fill a dent. Check for a loose nail or sharp splinter before touching old timber trim.
Dry the board and floor edge with a clean cloth. Lift any protective sheet and check beneath it, then vacuum the fallen dust from the floor.
Decide when the problem is maintenance rather than cleaning
Peeling paint, swollen MDF, persistent damp, loose wallpaper and crumbling caulk all need assessment before repeated washing. A small cleaning appointment cannot restore a failed surface. If the issue is in rented accommodation, record the location and tell the relevant person responsible for maintenance. Do not repaint or seal over a recurring damp patch to make it look clean for a handover.
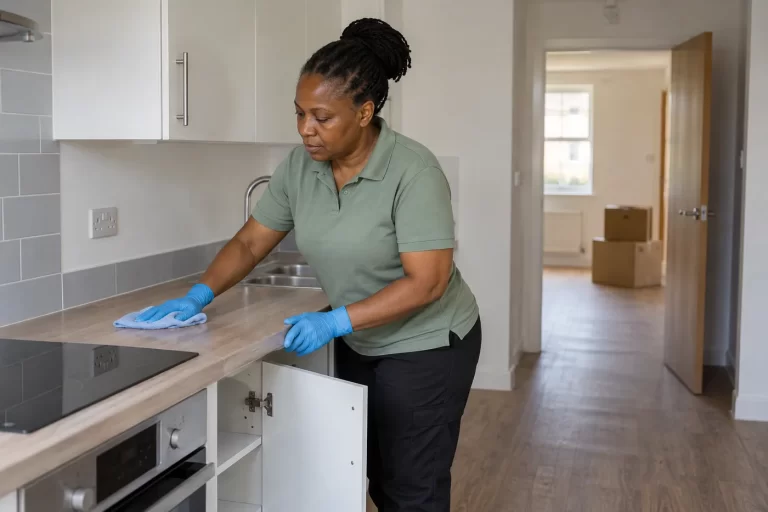
The distinction matters when arranging help. Ask whether regular domestic cleaning can include ordinary dust on accessible trim within the agreed tasks. For a larger build-up, discuss the scope of a one-off deep clean. Tell the team about delicate finishes and areas to leave alone; cleaning does not repair wallpaper, paint or a damp source.
For an empty rental property, skirting may be one detail in a wider end of tenancy cleaning plan. The existing handover checklist helps separate cleaning tasks from repairs and evidence of condition. Do not scrub a damaged board until the finish comes away merely to make it appear new for an inspection.
Keep the routine light
Add a quick visual check to your normal floor clean and deal with fresh marks while they are easy to identify. A brush or vacuum attachment handles recurring dust; use a damp cloth only where a sound, washable finish needs it. The weekly cleaning plan for busy households can help place this task without turning it into a major weekly project.
The most useful finish line is a clean top edge, a dry floor junction and intact paint and wallpaper. If a stubborn line remains because the material itself has changed, you have learned where a repair belongs. That is a better result than removing the mark at the cost of the finish around it.